QR Scavenger Hunt
I am currently teaching a graduate level course on technology through UWGB called Communicating and Collaborating with Google Tools. Each session I try to bring in an interactive lesson that typically includes technology and team work or relationship building.
Last week we I asked the students to go on an adventure around the building as they embarked on a QR code scavenger hunt. Students scanned the QR codes and were directed to a Google Form that had questions that had to be answered correctly before they would be provided the next clue. To set up the Google Form I used short answer questions with Data Validation where they had to type the answer in correctly in order to move to the next question. I also used multiple choice questions where they were directed to start the task over if they were incorrect or move to the next question if they were able to get it correct. In both cases I didn't have to check any student response and they were able to move to the next task at their own pace. At the end of the Google Form you are able to customize the message that students will see. While editing the Form you click the Presentation tab and are able to type a link to another resource, or directions or a clue that will guide them to their next location. Some of this inspiration came from a conversation with a Phy-ed teacher who wanted to take the idea of Breakoutedu outside. We are working on creating an activity to create clues hidden around campus and connected via Google Forms. Charades!
Another amazing aspect of class was the use of Charades. This game has been around forever. Recently there has been the development of an app that you can use on your phone where the word appears on the screen which is held above the guessers head while others attempt to provide clues to help them guess. If they get it correct they move the phone forward, if they can't get it they pass by tilting it backward. I wanted to provide teachers with an editable example of this they could use with all age levels that wouldn't need to go through the MRSC - media resource checklist and wouldn't require the use of a device in the hands of the kids.
When we used this in class with a group of educators it was a truly spectacular experience. Everyone was engaged providing clues and attempting to help the guesser get as many clues correct as possible. What made this so enjoyable was the Act It Out category. The group started a little slow, but quickly got into the spirit. There was no better example of this than when the clue "Making a Snow Angel" came on the screen. A few teachers demonstrated the action which the guesser thought was jumping jacks to which a couple players changed their position quickly getting on the floor and mimicking the creation of a snow angel in the carpet. It was a fun activity that everyone in the group participated in and had fun doing. I created a simple Google Slides template for Charades with a few topics and clues. I included hyperlinks within the document from the category page to the word slides for Act It Out, Animal Kingdom, and State Capitals. You are able to change the categories and the word slides to fit your needs. If you click the Charades link above you will be able to make a copy for your own use.
0 Comments
 What is BreakoutEDU?"BreakoutEDU is based on breakout rooms where people are locked inside a room and must use teamwork and critical thinking skills to solve puzzles to break their way out. It's taking education by storm; but instead of locking our kids in our classrooms, they are locked out of a mysterious box." ~Mari Venturino The basics of it are you have a simple wooden box locked with 6 separate locks that students have to find clues and solve problems in order to unlock all of the locks to get the box open. Students must work together, share information and ideas. They need to rely on each other to move forward in the process. It is engaging as students will be moving around the room looking for clues. It is fun, even if you don't solve all of the problems and succeed in opening the box. My wife and I went to an escape room in Green Bay with some friends recently and had a great time working through the process, even though we came up short of escaping. We were told only 30% are successful I am hoping they weren't just trying to make us feel better about ourselves. But whether you succeed or not, it is an amazing experience that I hope you will consider using with your students. Here is a post by Mari Venturino with more details about the set up of BreakoutEDU. She has created her own BreakoutEDU games and the BreakoutEDU.com site has many more examples of games/lessons you can use with your students. There are many based on content or grade levels, otherwise we could work together to create or modify games to meet your learning objectives. 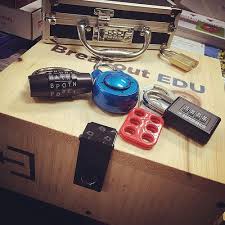 Escape Rooms nearbyEscape rooms are what the Breakout boxes are based off of. As I mentioned my wife and I attempted to escape and I thought it was worth sharing that there are rooms in Green Bay and Appleton, and other in Madison, Milwaukee, LaCrosse and other locations throughout Wisconsin if you were looking for something fun to do.
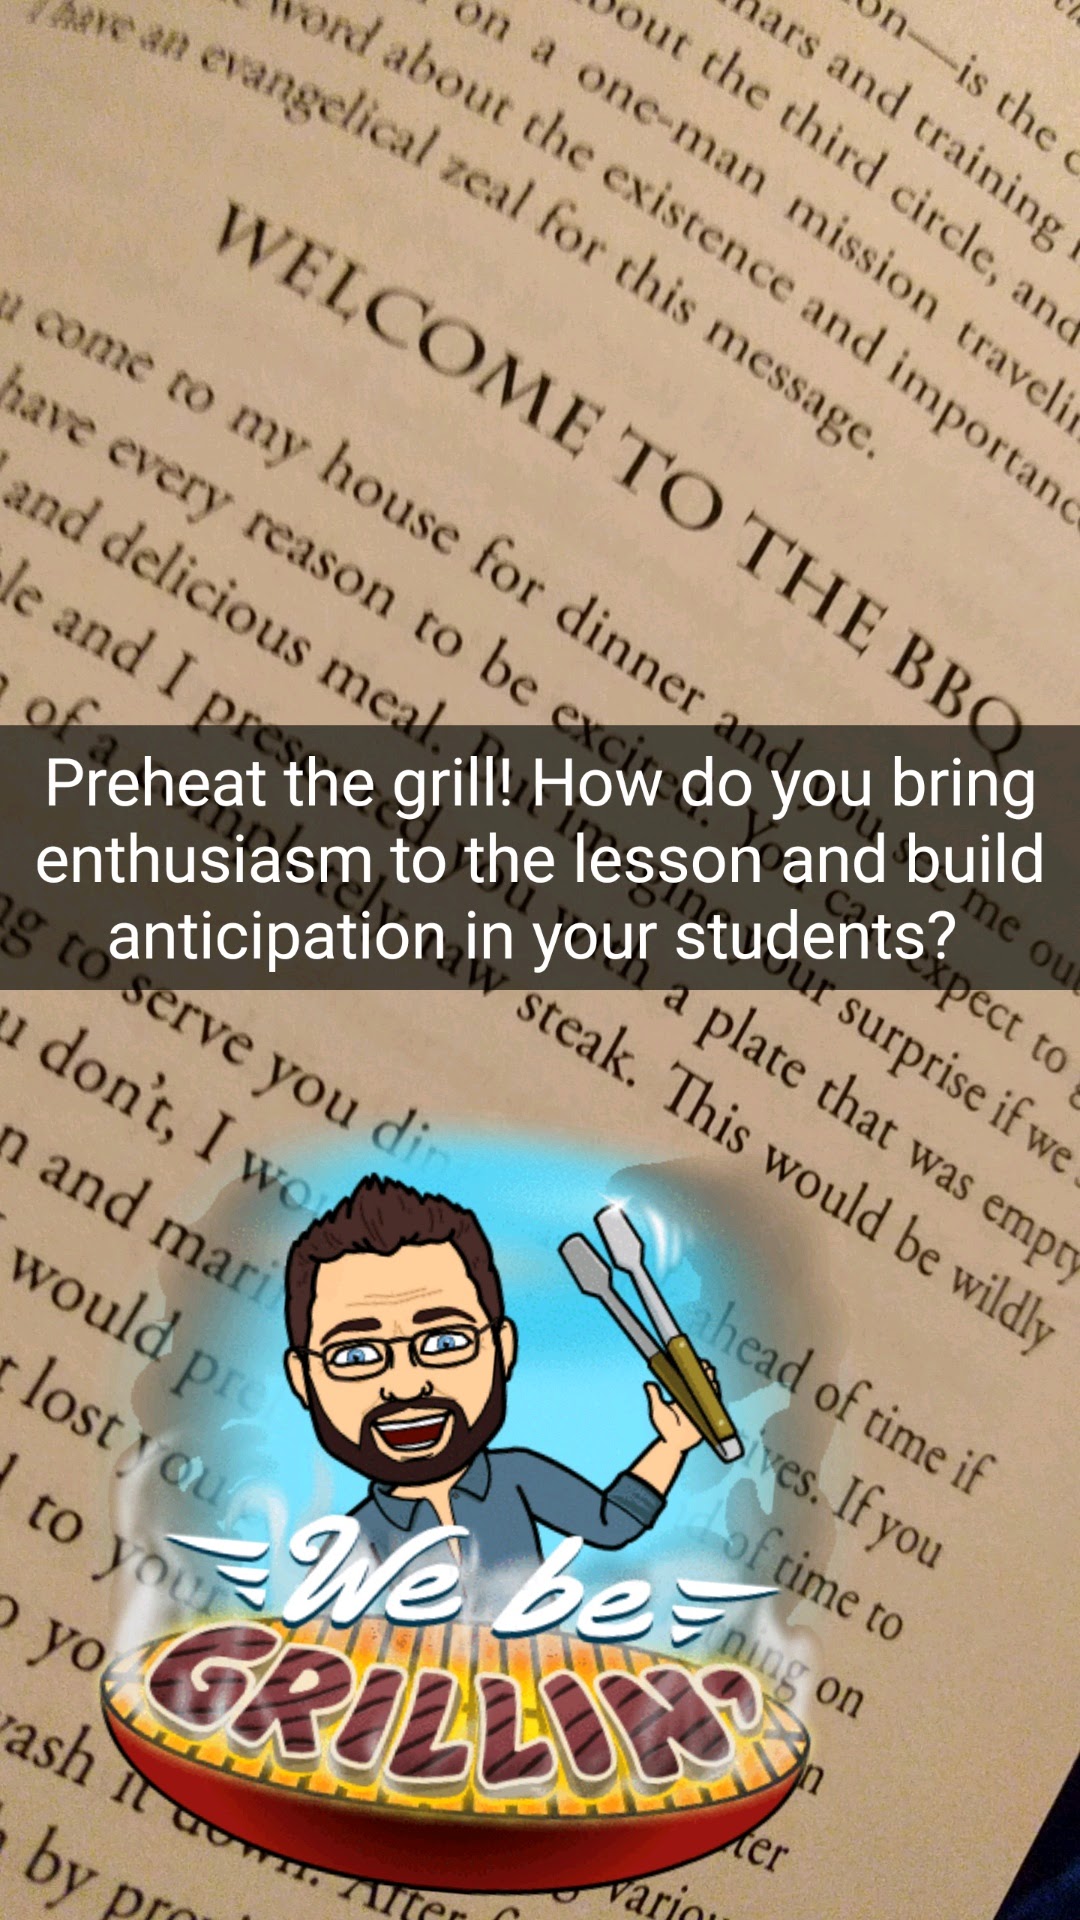
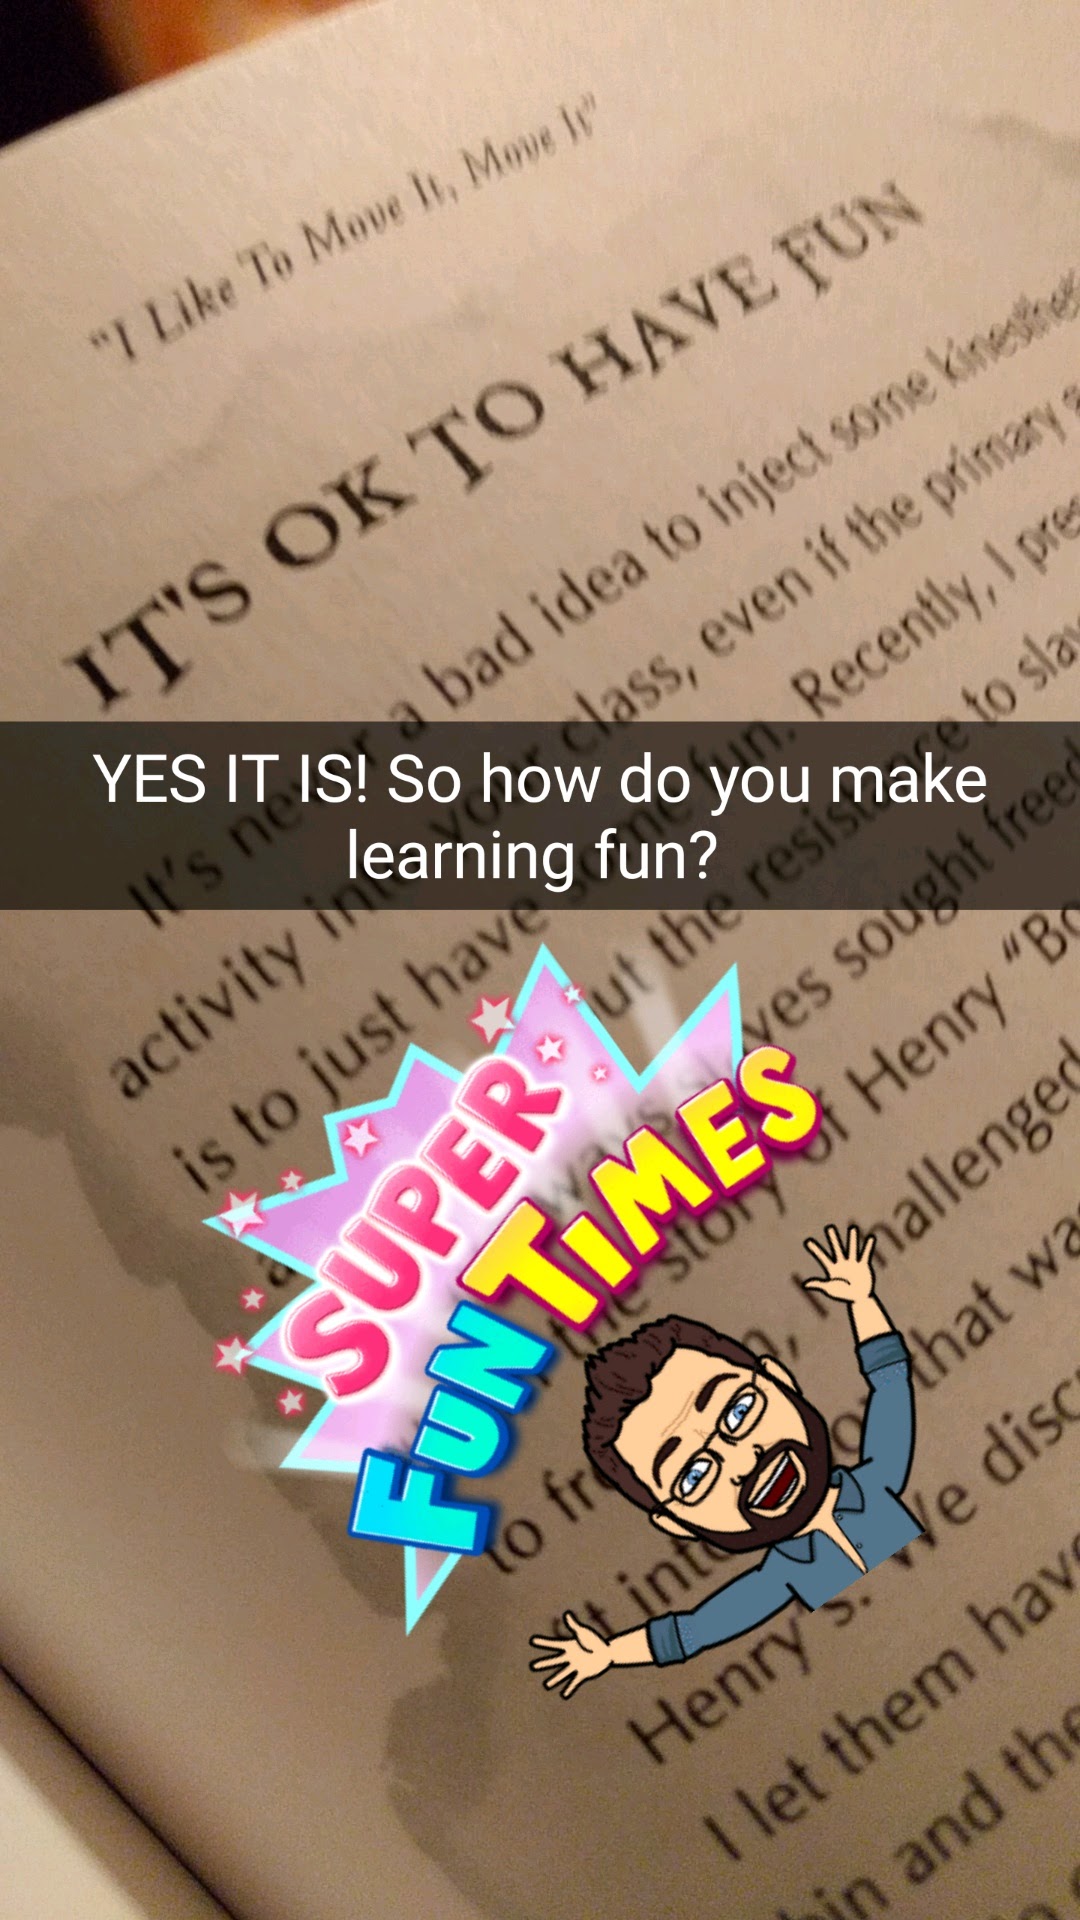
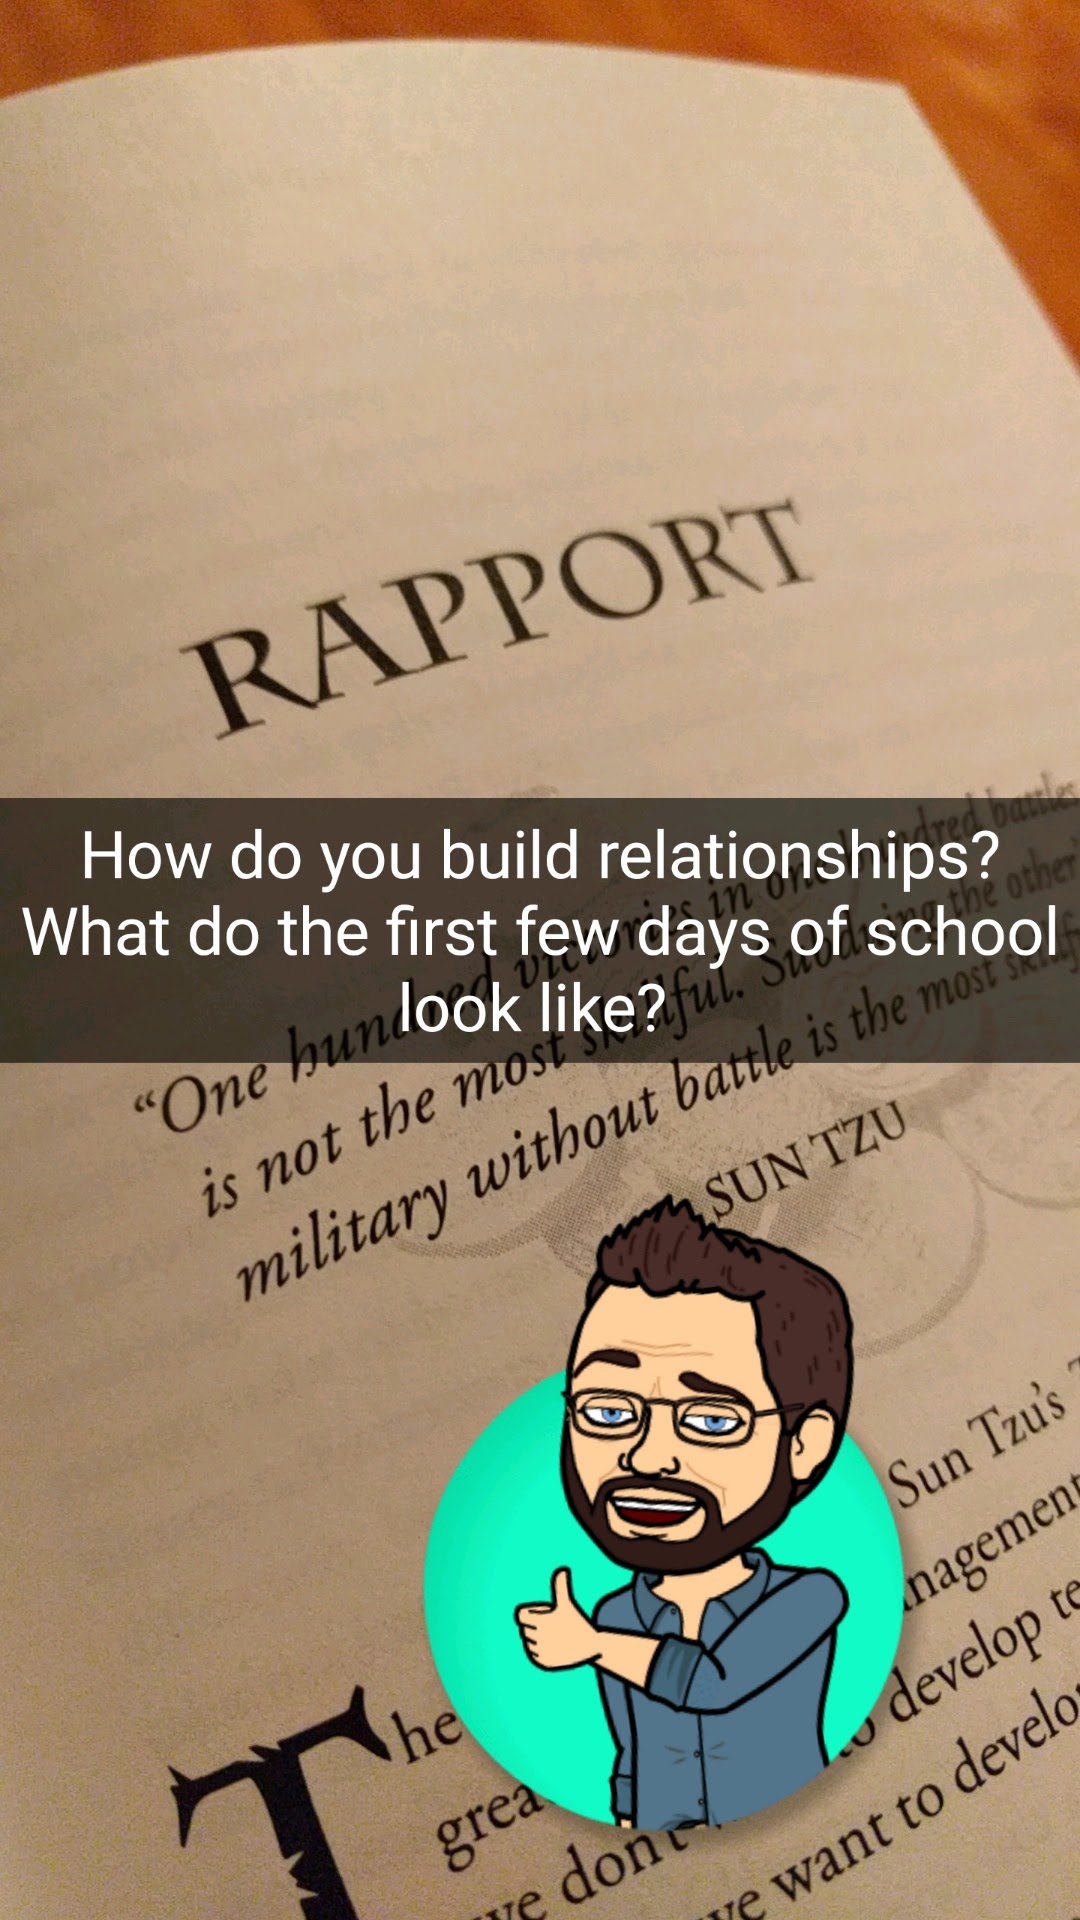
Breakout Green Bay Escape Room Wisconsin What are Booksnaps?Have you heard of Booksnaps? It is something relatively new, but is gaining momentum in the education world in many subject areas. I will share a post from Tara Martin who is credited with coming up with the concept, but want to talk a little about the idea and how it fits into GBAPS before I do. Before I lose some of you, the concept isn't just for literature, it can be used in any area where students are engaging in textual materials, but could also be used by students taking picture of items to explain concepts like math problems, science experiments etc.. Booksnaps is the idea of taking a picture of a page of text and then adding a text field with a summary of the ideas, circling key concepts or adding images to help demonstrate the key points of the writing. Here are a few examples of booksnaps I created using the book Teach Like A Pirate by Dave Burgess. Read this section carefullyHere is the part you need to take note - The original version calls for using Snapchat. Her post also calls for using other apps as alternatives like Snapchat that have not gone through our Media Resource Checklist. Let me state that again - I caution you against using the suggested technologies that have not gone through the process to check Terms of Service or Student Data Privacy. Booksnaps Why would I share this if you aren't able to use the technologies?I shared this because it is a really cool way to engage students in connecting to what they are reading in a new and different way. Here are some examples that Tara Martin shared. And we can replicate the final product with technologies available to us that are approved for student use. The final thought on technology is Snapchat isn't available for students under 13, and would need to be loaded onto a student's personal phone to use, but the technologies listed in the next section can be used by all students K-12. GBAPS approved technologies for BooksnapsI explored the following options for creating products similar to the Booksnaps created on Snapchat. With the iPad and Google Slides - you are able to take pictures and annotate them all in Google Slides on the iPad. I first thought I could take a picture and then edit it in Google Drawing, but that wasn't available on an iPad. So I signed into Google Drive, opened Google Slides and clicked the + sign to insert an image. I chose to use the camera, took a picture and it loaded on the first slide. I was then able to add text and even circled an area of the image that I wanted to highlight. When the circle was created it was a solid color and I wasn't able to see the image behind it so I clicked on the fill icon and changed it to none and was left with a clear view of the image and just the line of the circle around it. See example below. 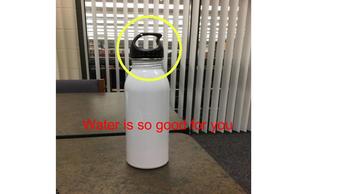 iPad or phone and Computer and Google Drawing - is similar to the process above, but has more steps to it. I share this as an alternative if you have limited number of iPads, or if students are using their own phones to complete the process. you are able to use the iPad or phone to take the picture and then send this to yourself either through your Google Drive or via email. They will complete the next steps on a computer. When they have the image in their Drive they will be able to open Google Drawings and insert the image into Drawings. With the image inserted they are able to crop it, adjust size, add text, shapes, etc. like you could in Google Slides. The advantage of Drawings is it saves the image as an image file which can then be inserted into other products like a Google Doc, or shared as an individual image. The advantage of doing it Slides is you would have all of the images a student created for their project in one place. Both examples can create as elaborate or as simple a product as you would like. Both are accessible to all of our students as they use approved technologies. 6 Alternatives to Reading LogsI am in no way an expert in teaching literacy, but found this post by Shaelynn Farnsworth to be very interesting and thought it was worth sharing. Her number one example is Booksnaps which we just explored above. Some of these integrate technology and some do not, but all of them ask students to engage in literature differently than I was asked to back in the day. One example that isn't part of the post, is one that I took from Kelly Gallagher. His idea I think he called 20 questions. He asked students during the reading of a piece of literature to come up with 20 questions that couldn't be answered in the text. He said he was tired of playing the cat and mouse game with students. He wanted to make sure they were reading and understanding the text, and they were trying to guess what questions he might ask. When I implemented this strategy in Social Studies, I reduced the number of questions to 3 as we weren't reading lengthy texts. What I found was students were more engaged in the passages and it lead to conversations not a question and answer session where I had those "Bueller, Bueller, Anyone, Anyone" moments. I wasn't asking the questions, the students were, and often they had questions that made me think differently about the information. More Alternatives to Reading LogsHere is another post providing ideas for students to engage in the text they are reading in a multitude of ways. What I like about this post is the multitude of examples. It incorporates sketchnoting to engage those students who maybe more visual or artistic. It also uses the idea of Twitter to have students create a synopsis in a limited number of words as Twitter is 140 characters.
GoAnimate is a fun an easy way to create video projects for a multitude of content areas. Students use GoAnimate to create animated videos using text to speech where the character speaks what is typed, or they could use their own voices. GoAnimate is available via the classlink launchpad and should be accessible using your Google login. GoAnimate is currently going through some changes as it updates its platform from Flash to HTML5 which is makes it easier to view on multiple devices. During this change GoAnimate has lost many of the templates it had such as the presidential debate template, or the school template that were used frequently for projects. Currently there are 3 main themes but many more will be added. Ideas for GoAnimate:
These are just a few ideas on how you could leverage the GoAnimate software to create video projects with your students. Below is a video example of using GoAnimate with backgrounds from a Google Slides Virtual Museum Template. Students could add their own artifacts to create an online portfolio. Another option as the last segment of the video illustrates, is to create a travel brochure where students can use images of monuments or other places of interest to share stories of their travel or inform their audience of the country they are studying.
This week I met with Erika Schoen and discussed the request some teachers have expressed in learning new ways for students to share their understanding of concepts. During the conversation we came up with a few, but seemed to find a real interest in Paper Slide Videos.
The presentation below is the result of Erika's efforts to create an overview for staff and she has been gracious enough to let me share it with you so I don't have to try and create instructions or examples. To create this project you need paper, markers, and iPads or a camera. If you do it from top down that set up will work. If you have chromebooks or laptops you can use the webcam and would need to hold the papers in front of the camera to achieve the same effect. Please let me know if you have any questions and Thanks to Erika for sharing! I just came across this video on Teaching Math with Google Drawings and thought there were some things that might be useful. The presenter's information is in the video if there are things that you come across that you might want to know more about the methodology. I can assist with the use of the technology if you find things that are useful. I am not a math teacher and do not pretend to know best practices. I did find some things in the video that I thought were unique and interesting in how to present math. I also think that students could be taught how to use the technology to provide them other ways to engage in math problems and demonstrate their level of understanding. Did you know...The District has a significant list of technology resources available to teachers and students? The following list of applications come from both the paid subscriptions and vetted resources list which can be found on the Launchpad. Each of these have their own set of terms of service that you should look at before using with your students. While the district has looked into the various resources on the list it is still best practice for you to see if there are specific instructions for use, or restrictions with using the application such as age restrictions, parental permissions, or the need to anonymize names or student data that you need to follow. Do you want to create a more engaging presentation to students, or provide students alternative ways to demonstrate their learning? Here are some tools and a brief overview of each to get you started.
GoAnimate - Create animated videos where you can turn text to speech or use the voice recording controls to speak for the characters. Students can create easily with this tool as well. WeVideo - This is a powerful tool that can be accessed through Google Drive. Use the webcam feature to create videos, ask students to do a quick check in with their understanding of a topic, or record a project. Use the screen casting tool to record a presentation or explanation of how to do something on the computer. Use the editing tools to create final videos including green screen videos. This can be used in different forms by a multitude of ages. Currently working with 3rd graders on green screen weather event videos. VoiceThread - Create presentations by uploading, share and discuss documents, presentations, images, audio files and videos. Over 50 different types of media can be used in a VoiceThread. You can comment on VoiceThread slides using one of five powerful commenting options: microphone, webcam, text, phone, and audio-file upload. You can keep a VoiceThread private, share it with specific people, or open it up to the entire world. Learn more about sharing VoiceThreads. I must admit that I have not used VoiceThread, so this would be a learning experience for me. MoveNote- Create a video presentation with images and the presenter's image on the screen together. This has been a great tool for doing book talks where the students can share images about the topic and you still see them in the video as they present their ideas. SeeSaw - An online portfolio app that connects the student's work to home. Create a year long portfolio of student work where you can monitor progress through audio video recordings that the students create and submit themselves. Used in elementary, I have seen 1st graders use so well they taught me how to do it. It can also be used in all grade levels and subject areas to create a body of work for students. Storybird - An online story book creator. The user is able to write their stories on the pages and add premade images to the book. The art work helps students bring their stories to life. When they are done they are able to publish and share their final products with others. I used this and another online storybook to have students demonstrate their understanding of sociology concepts. I have worked with teachers in ELA classes in creative writing assignments like no other. Peardeck - allows you to share your screen with your class during a presentation. You create slides with information and also interactive slides where students will be asked to respond on their devices. This has created more engagement during direct instruction especially when the presenter asks for audience feedback and questions. This creates a more conversational element to the presentation. You also are able to get immediate feedback from the audience. Edublogs - Allow students to create and share their ideas with the world. When students create for an audience beyond their teacher their work changes. They often spend more time in the process and asking for feedback knowing that others will see what they have produced. Blogging in general is a great way to get students writing, especially when we offer choice in the topics they will explore in their writing. Google Drawing - Is an underutilized application. Google Drawing allows you to not only create images, but add information beyond the checkerboard area. Teachers have created a learning activity by putting an image like a farm in the middle and adding images on the side and asking students to drag and drop the images that belong on a farm. In science an image of a cell can be shared with science and students can label the correct parts of the cell and turn it in. Google Slides - Create a presentation of your ideas and share with others. Google slides allows for collaboration of ideas and collaboration in creating a group project. Since the final project can also be shared, students can access other's ideas and information. Teachers can also share the presentation with students during presentations or when absent. An addition could be to create a screen cast of the presentation and share presentations this way as well. Audio Recording - Click here for tools - There are so many ways to infuse audio recording into activities. Have students tell a story, read a story, or voiceover a presentation. Verbal language has been around far longer than written language and for many students is much easier to express themselves verbally.
I use screenshots almost daily to help me in my current position, but see so many applications in the classroom.
Working in classrooms and other learning spaces I have seen some opportunity for using screenshots or the camera on our devices. I have seen students using websites, or online programs where they demonstrate learning or complete tasks. The problem is they sometimes run into the issue of how to share the results with others. Students using Geogrebra could screenshot their work and insert it into a Google Doc to share with the teacher for feedback. Students can do a screen shot of information and move it to Google Drawing and add comments, circle or mark key points and then share the edited version of the screen shot to demonstrate learning. I had a teacher this summer take a screenshot of an engine and then add labels that students would have to identify in a Google Forms Quiz. One other thing is you can used the camera to take a picture using the webcam as well. Here are directions for using the webcam on a Chromebook. How do you do this? Here are some directions shared by Jon Spike. Looking for new ways to introduce content or begin your lessons?Discovery Education is a service available to teachers and students at GBAPS. Many may know it as resource to find videos. The list of resources available through Discovery Education go far beyond just videos. There are lesson plans, virtual field trips, and one of my favorites SOS Spotlight On Strategies. Example 1 - Half the ImageWhat do you think is in the image below? 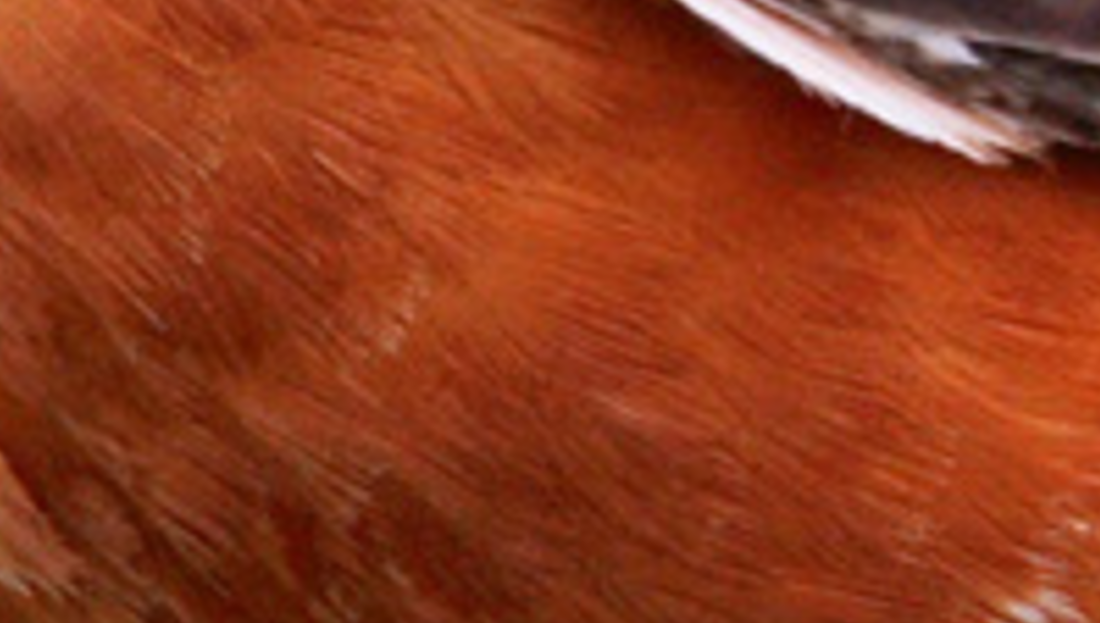 Don't cheat and look ahead. Try to image what the above image could be. In class you would provide students with part of the image, or zoom in on an image so they can only see a small portion of the complete image. Another option is to show them the left/right or top/bottom half of an image. The process is the same with the students pondering what is in the image and how it pertains to their lesson that day. The next step is showing them more of the image if you have only provided a small portion of the image and again engaging them in conversation about what it could be.  With this image you might have a pretty good idea of what the image will be. There are multiple ways to use this strategy. It can be a bell ringer that serves as their writing prompt for the day. It could be an image that sparks deeper levels of conversation about historical events, a character in a book, environmental issues, or anything you can imagine. The thing I really like about this is it engages students in conversation where you see evidence of their thinking. 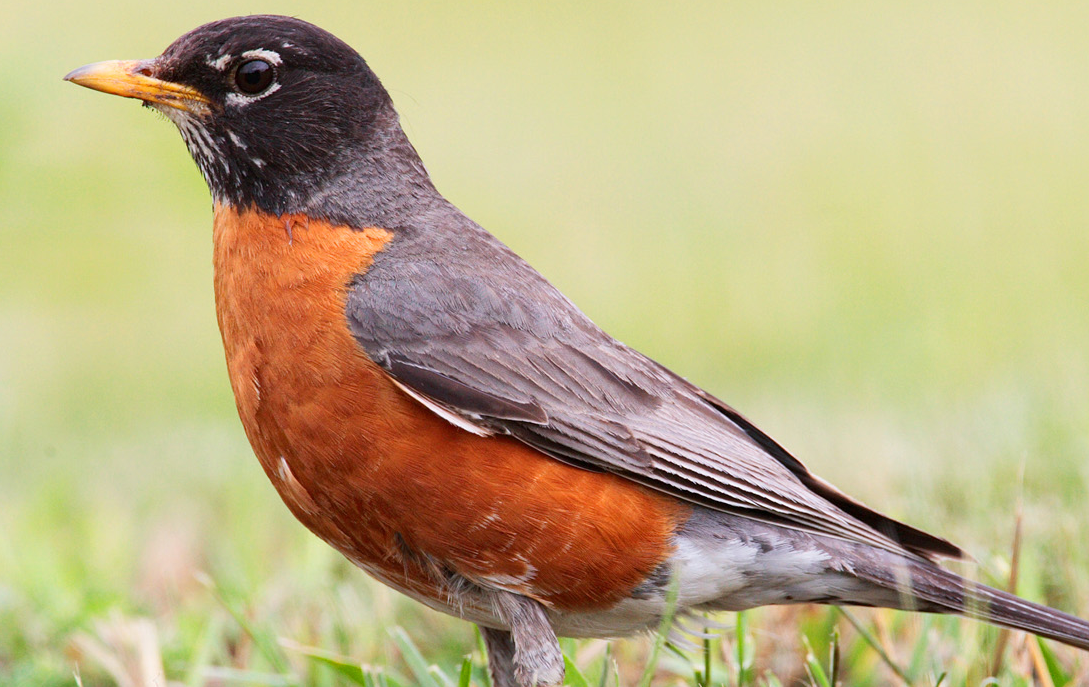 In case I didn't give it away in the last image. Here is the full image. I didn't really have a great educational hook for the Robin other than maybe the state bird of Wisconsin and connecting to a social studies lesson on what makes Wisconsin great could be the discussion for the day. Spotlight on StrategiesSOS is a growing resources having new ideas and examples added weekly by teachers around the world. If you look at the slide presentation below there are images to help guide you through finding the SOS resources. Click on Professional Learning, the Strategies and Resources and you will find Spotlight on Strategies. There you will discover a multitude of examples created by classroom teachers. Each has a video explaining how to use the strategy. You can modify any of them to fit your needs. Are you looking for technology resources to use with your students? Please check the Online Subscription Resources and the GBAPS Approved Web Tools list. You can access these documents in Classlink Launchpad. The Approved list continues to be updated as we work with companies to ensure the security of data and information of our students. Remember, these documents are always changing so please do not make a copy of this doc or print it. If you have questions about this please contact me or your LMS.   |
AuthorWrite something about yourself. No need to be fancy, just an overview. Archives
September 2018
Categories |
 RSS Feed
