What is FaronicsDear Staff, This year, all teachers in your building may begin using Faronics Insight, a software product designed to support classroom management and display. When Faronics Insight is deployed, all students in the building using chromebooks may receive a pop-up asking them to allow permissions for the Faronics Insight extension. This software has been tested and is safe for students to allow permissions to use this extension. If students deny the Faronics Insight extension, it will continue to appear until they select allow. The pop-up will look like the following image: 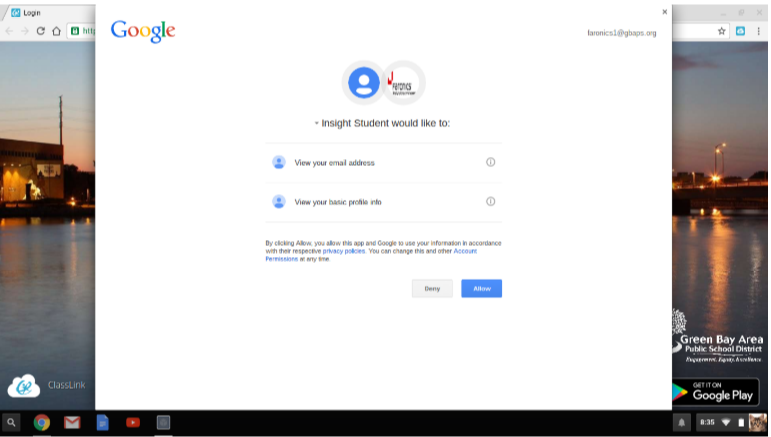 User OrientationPlease read this email VERY carefully to ensure your experience with Faronics is a happy one! This year, Faronics Insight has been installed on your classroom desktop computer. The Faronics Insight icon is located in your system tray (bottom right corner by the clock). Faronics Insight cannot be located on your desktop. **We will be including instructions for adding to your Laptop in the near future. Faronics Insight is a software product designed to support classroom management and display. Click here to read the powerful testimonials from GBAPS staff members. IF STUDENTS IN YOUR ROOM USE CHROMEBOOKS: Prior to using Faronics you have to set up your classroom channel. Your channel is specific to you and your class. It is very important that you set your channel prior to using Faronics. If you do not set your channel and decide to share your teacher screen, you will share your screen with ALL student chromebooks in the building. Take a look at this video to set up your channel. Your specific channel is listed in the table below. **The email I sent to you includes a spreadsheet with your name and channel you are assigned. If you are not on this spreadsheet and need a channel to use Faronics with your students, please let me know and I will update the sheet. After you set up your channel, the next step is to load your class list. This video will show you how to load your class list. Within this video, it does not show where to find the file but how to find it. The files are located on each school's S drive \Faronics\<teacher's username>. Starting the first day of school, these files are re-created on a nightly basis (at 2:00 AM). Quick GuideThere are a lot of things you can do with Faronics. To see some of the most common features, click here to view the quick reference guide to Faronics. User ManualWant to know more about how to use Faronics, or learn more about advanced features, please click here to explore the user manual. If you need additional assistance, please let me know and I would be happy to set up a time to set up some learning opportunities. FAQIf you have questions about Faronics, please refer to this document. If your question isn't answered in this document, please contact me and we can set up a time to meet and provide support in using Faronics with your students.
0 Comments
iPads have been around for awhile, and there are lots of apps available. They used to have a slogan, "There's an app for that." While there are thousands of apps available, and many of those are educationally relevant, there are other ways to use the iPad that make it a great tool for learning. I attended a training a couple years ago where the presenter shared an activity where her students used the iPad as a movie studio. The students each had a role, including camera person, editor, writer, and on air talent. Each played their part in creating a public service video and all done on the iPad. This past week, I was able to witness and discuss an activity that a music teacher was using with her students. The students were provided an iPad and paired up to record each other. After they recorded, they would upload their video to Google Classroom on the iPad. The teacher now has the ability to see each student perform, and will be able to build a library of performances for each student to demonstrate their progress. The teacher can watch the video, then use it to provide personalized feedback for each student. 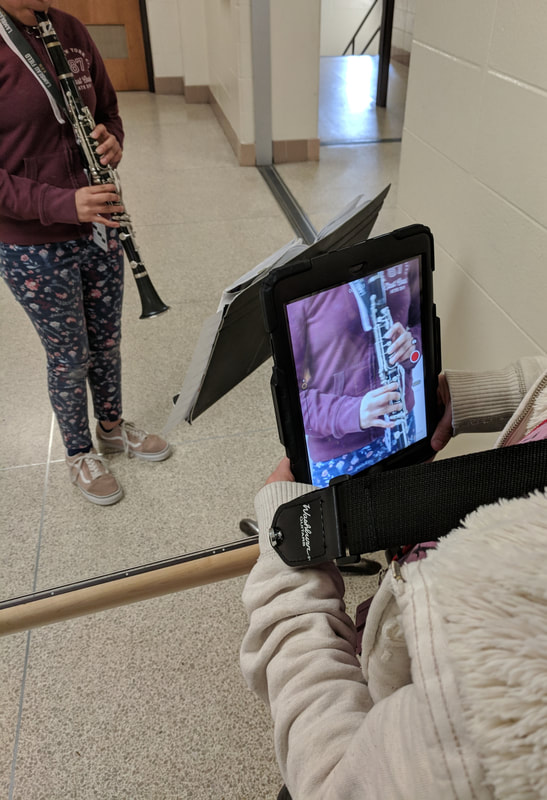 I also think about PE teachers, and the opportunity to have students demonstrate proficiencies in skills by recording themselves performing the required task. Or students creating tutorial videos that others can view to assist them in learning and performing new skills.
iPads are one tool that is available to staff and students. The way that teachers are allowing students to use this tool is changing the way students are able to engage in the learning process. It provides teachers more opportunities to see what students are able to do, and provide instructional feedback to whole groups or individuals to assist student learning and growth. The LMC has iPads available and the LMS and myself are here to assist you in integrating them into your instructional activities. Google Slides has just added some new functions that provide more functionality to creating presentations of information. Google has included Diagrams which allow you to incorporate data in new ways. One of these diagrams is a timeline. Below is a video tutorial on how to create a timeline. Classrooom Screen is a tool another tech integrator shared with me this week. 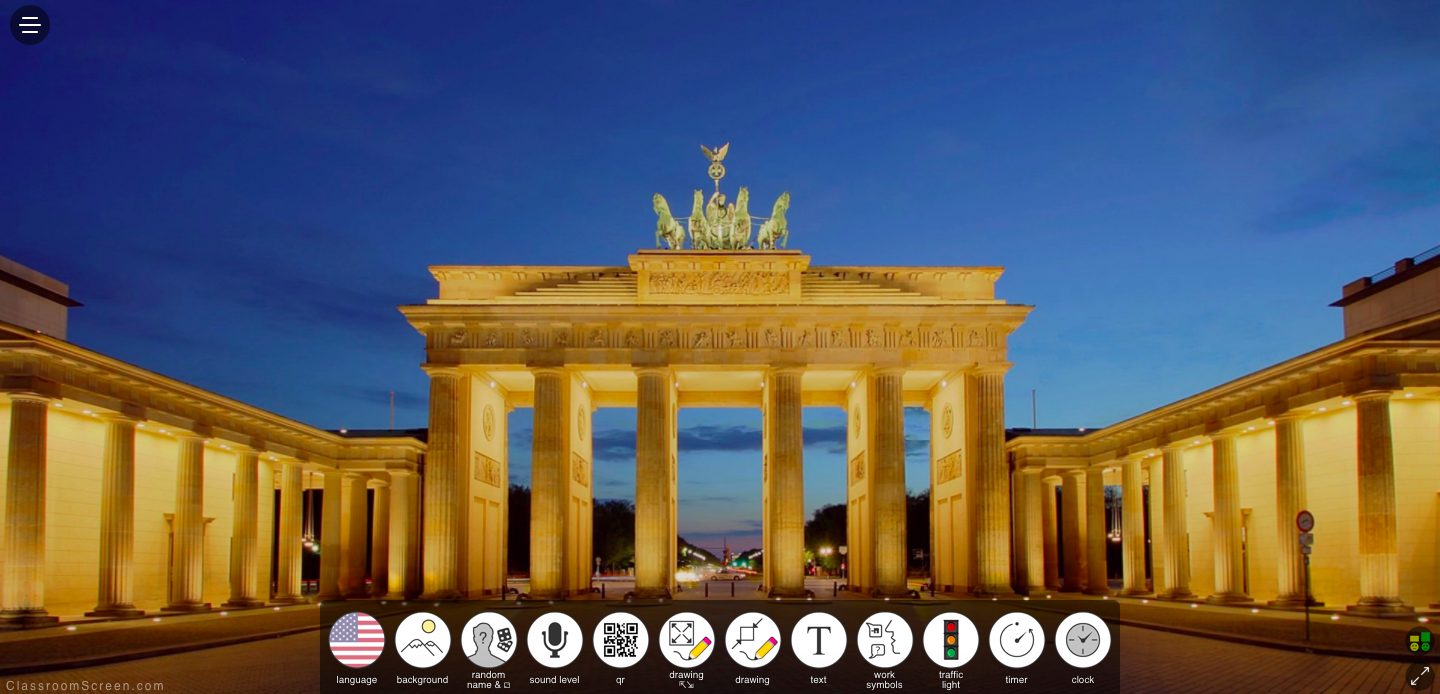 Classroom Screen is a tool that provides teachers with a utility belt all in one place. When you go to Classroomscreen.com you are able to use the tools on the screen that include changing the background image, drawing on the screen, a timer, and a random name selector and a dice roller. When exploring this site, I changed the background image to one of the United States Map. I wanted to better understand why I would change the background, what purpose other than aesthetics would that have. When I changed the image, I then clicked on the drawing tool. Which turned the screen white until I clicked the box on the lower left with the red line diagonally through the box. This allowed me to write on the map. See images below. According to Formative Assessment Strategies for Every Classroom: An ASCD Action Tool, 2nd Edition by Susan M. Brookhart, Formative assessment refers to the ongoing process students and teachers engage in when they
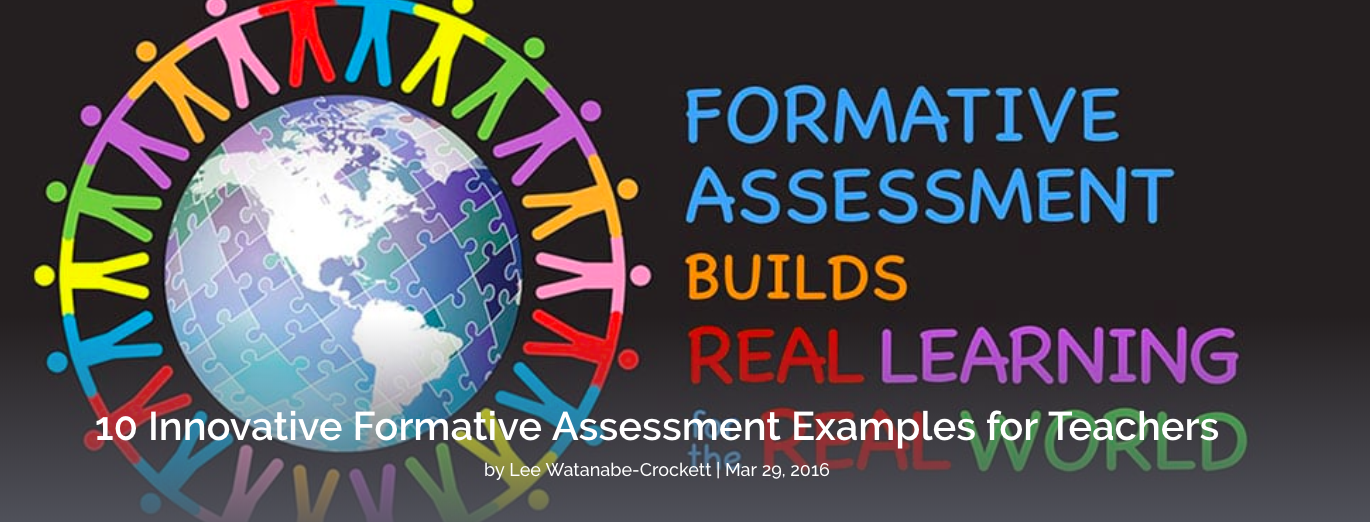 The Global Digital Citizen Foundation has come up with 10 examples of Formative assessments. Click on the image above to learn more. The first example also provides a rationale for why we should integrate formative assessment practices. A great deal of information can be learned from students’ homework, tests, and quizzes. This is especially so if the students are required to explain their thinking. When teachers take the time to analyze student work, they gain knowledge about:
Another Idea they share is about Exit Tickets. I have seen many examples of teachers implementing Exit Tickets in their classrooms. 1. Post it Notes 2. Twitter Posts 3. Padlet 4. Google Forms Quiz Non-Graded Work Formative Assessment is non-graded. It is an opportunity for students to show what they know, and teachers to reflect on the next steps of instruction to prepare students for the summative assessment. Google Forms can provide opportunities for students to demonstrate their learning in a non threatening way. (The examples below are easier to demonstrate in person than describe. If you are interested in learning more, please let me know). 1. Self Guided Review - You can create a self guided review for students using Google Forms and the option to go to section based on answer, or data validation options when creating questions. With multiple choice questions if students get the question wrong they can be redirected to a resource to assist them with answering the question and then be redirected to the question. Using short answer questions, you can use data validation to create force students to get the question correct before they can more forward. I included one example of this that uses data validation here. 2. Extension Activity - You can add videos from Discovery Education, your Google Drive, or Youtube with students in 8th grade. Adding videos to forms allows you to create a learning activity where you can ask students questions about the video as they watch. You can create multiple choice or short answer questions and turn the form into a quiz, or you can use data validation to check understanding immediately. Here are two examples of adding videos Comparing Changes and Chemical Reactions. Other Formative Assessment Tools: The following were shared by Richard Byrnes
Kahoot is a service for delivering online quizzes and surveys to your students. The premise of Kahoot is similar to that of Socrative and Infuse Learning. On Kahoot you create a quiz or survey that your students respond to through any device that has a web browser. Your Kahoot questions can include pictures and videos. As the teacher you can control the pace of the Kahoot quiz or survey by imposing a time limit for each question. As students answer questions they are awarded points for correct answers and the timeliness of their answers. A scoreboard is displayed on the teacher's screen. Students do not need to have a Kahoot account in order to participate in your activities. To participate they simply have to visit Kahoot.it then enter the PIN code that you give to them to join the activity. Students should not create their own Kahoot games. Socrative is the standard to which I compare all new student response systems. Socrative uses cell phones and or laptops (user's choice) for gathering feedback from students. You can post as many questions as you like in a variety of formats. One of the more fun question formats is the "space race" format in which students can work individually or in teams to answer questions as quickly as possible. Plickers - For classrooms that aren't 1:1 If not every student in your classroom has a laptop or tablet to use, then you need to check out Plickers as a student response system. Plickers uses a teacher's iPad or Android tablet in conjunction with a series of QR codes to create a student response system. Students are given a set of QR codes on large index cards. The codes are assigned to students. Each code card can be turned in four orientations. Each orientation provides a different answer. When the teacher is ready to collect data, he or she uses the Plickers mobile app to scan the cards to see a bar graph of responses. In your teacher account on Plickers you can view and save all of the data that you collected from scanning your students' Plickers cards. Dotstorming ss not currently on the approved list, but if you are interested we can complete a Media Resource Selection Checklist and should be able to get it approved as it is a teacher tool and doesn't require students to log in to participate. Please let me know if you are interested in using. Dotstorming is a neat tool that combines a bit of Padlet with a polling tool. On Dotstorming you can create a space for people to post digital sticky notes. Those notes can contain text and or images. That part of Dotstorming is just like Padlet. What makes Dotstorming different is that once the notes are posted, you can have people vote for their favorite notes. As the creator of a Dotstorming space you can restrict the number of votes that each person can cast. For example, you could say that each person gets two votes and once those votes are cast they're prevented from casting any more votes. After the voting is completed, you can sort the notes according to the number of votes they received. See Dotstorming in action in this video. Students should use anonymized names that the teacher provides for them. Did you know you don't have to join Twitter to use it as a professional resource?
For someone who isn't sold on joining Twitter and just wants to know more about it, you can go to Twitter.com and search through the Twitter feed to find information that is valuable to you. The cool thing about Twitter is that it is kind of like channel surfing. Instead of channels, Twitter uses # which create various feeds that kind of collect information/posts that include the matching #. So if people want to learn about educational technology, the might look at #edtech, or if you want to know more about PBIS you can check out #pbischat which is also a weekly chat about PBIS. Want to see if there is one for your content or interest area, check out the list of educational Twitter chats. If you don't have an account, you can use the search in Twitter to look for the # you want to then search through the feed to find resources and information. You can also do a combination where you use a # and positive and you get a more narrow feed like this. Or for social studies teachers wanting information about the Civil War you could try #sschat and Civil War and look through these results. If you begin finding people who are sharing resources of value to you, you might then reach out to contact them, or consider joining Twitter and begin following them. If you are someone new to Twitter and decide to join, please let me know and I can provide some additional training on how to get the most out of Twitter. The world of technology is ever changing. Just this week Elon Musk introduced his electric Semi-Truck. Others are continuing to push the boundaries of AI, artificial intelligence. The devices we use continue to become more powerful with the potential to make us more efficient, or create more distractions depending on how we use them. I am unable to keep up with all of the innovations that take place, or even read all of the articles and posts that I come across about new edtech. I often find myself sifting through the material to determine what is useful for me, and realize I might be passing up on something that would be useful for others. I wanted to share a few places that I turn to as a resource for learning about edtech. Before I share, I want to again point out that not every resource in the blogs or resources that I am sharing here are acceptable to use with our students. Our district is doing an outstanding job of protecting student data privacy and as part of that new resources need to go through the process to make sure they meet our guidelines for student data privacy. If you have questions about any of the resources, please contact your LMS or myself to begin looking at the resource. This is also a great time to remind you of all of the resources that are currently available. You can check the Classlink Launchpad and the Online Resources page to see if the resource you are looking to use has already been approved, or is on the Green, Yellow or Red lists. Technology Resources beyond the district - Matt Miller has written a book Ditchthattextbook based on many of the posts he has shared in his blog of the same name. He utilized Google Apps frequently to create learning activities for students. I especially like his work with Google Drawing as I think that is an underutilized resource. 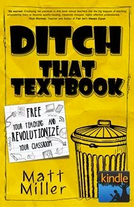 Alice Keeler has written a few books including 50 Things You Can Do With Google Classroom. She has one of the best edtech blogs and shares ideas about how to integrate technology, especially using Google Tools frequently. Richard Byrne is another edtech blogger who shares ideas about resources and provides ideas on how to implement them daily. His blog is filled with innovative ideas and resources, many I have not heard of before. His site is one that definitely warrants caution as we have to remember our policy on student data privacy. While we might not be able to use all of the resources he shares, I believe he is a great resource to share because of his thinking on how to integrate technology. His posts have lead me to explore alternative technologies to accomplish the same goal. If you see something of interest on his site and want to explore it further, please let me know. Google Earth is now available as a web based application. While Google Earth has been around for quite some time, it was as a download program which meant it wasn't accessible for Chromebooks and some other devices. You can now access Google Earth on most devices through Google Chrome-your web browser. You can click on the Google Earth Link or go to earth.google.com. Google Earth has some cool features like the Voyager which brings you to pre-made journeys with information about the destinations. Take students on a guided tour of exotic locations around the globe. Feeling Lucky allows you to head to random locations and learn about places you may not have even heard of before. My Places - search for and book mark, or click on feeling lucky and add those to your places to create your own travel adventure. This creates something similar to Voyages, but doesn't have all of the detailed information that comes with a Voyage adventure. One really cool feature about Google Earth is you can move from birds eye view to street view, and as you move around the globe Google Earth gives keeps the global perspective by showing you the earth as it sits in space. Below is a quick overview of Google Earth. I have only been able to explore it for a few minutes. I will update this post as I figure out new features. This week I had a chance to explore GoAnimate a little more in depth. I was working at an elementary school when I came across student writing samples hanging in the hallway. I chose one of those samples to be the basis of a GoAnimate project. My hope is to demonstrate a way to use technology to bring student work to life. What inspired me was the fact the students drew pictures to go with their stories and those were hanging next to the writing. In a previous post I mentioned using GoAnimate or other tools to have students talk through their thinking or explain their work samples, especially in art class, or it could be with posters or other student samples. This time I simply wanted to bring a story to life. A lot of times teachers have asked students to create book trailers, in this example the entire story has become a short movie. I used the text to speech function, but think it would be powerful to have students read their own stories as they create the video. There is an option to have them do a voiceover which would put their voice in their video. I shared this with the teacher of the student author whose story I used and she asked me to share it with the student. When I came into the class and shared it with the student, the rest of the class gathered around my computer to watch. Several asked if I would make one for them. My reply was a polite no, but I will teach you how to make one. Next week we will be working on these and I will share some of the products students create. 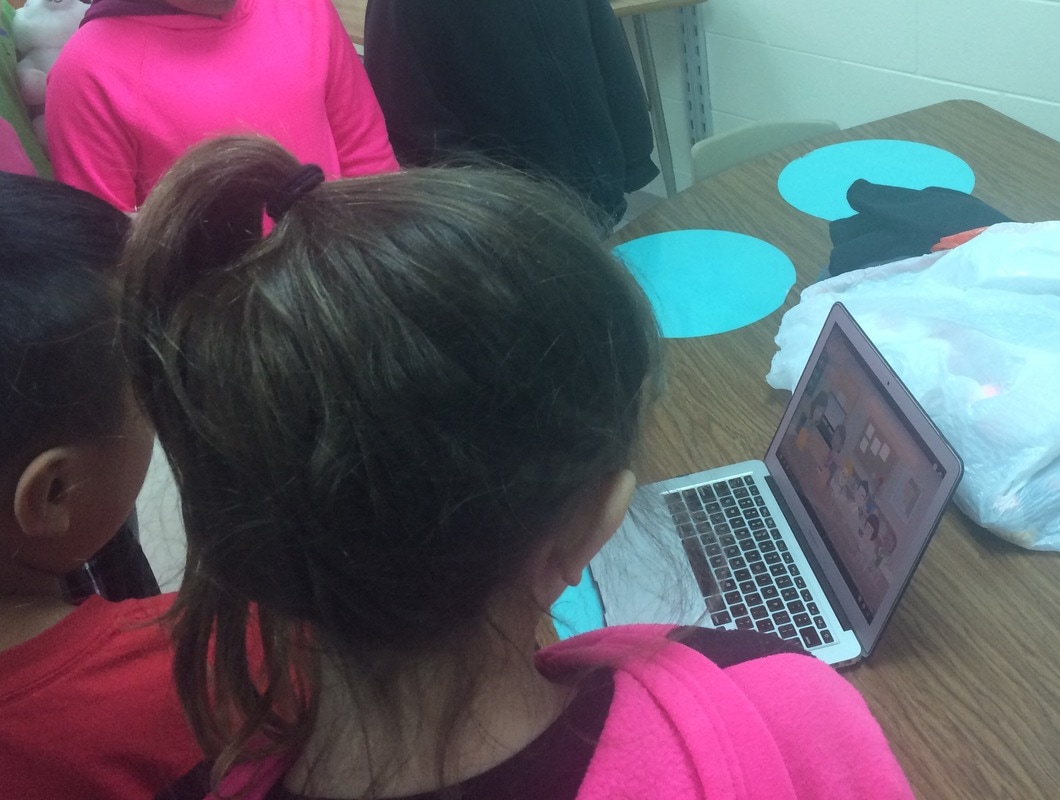 Another example I created for a class that is creating a travel experience itinerary. I created this simple example to show them how they can interject the visuals of the locations of their destinations and could add a little movement to enhance the video all within GoAnimate. The students have researched their destinations, explored potential places of interest, and have figured out travel and lodging. They will use GoAnimate to create a video highlighting the travel experience. Students will also create a Google My Map to help their customers visualize the trip. They will create pins of the various cities and places of interest the vacationer will travel as part of the excursion the student has planned. With each pin the student will be able to add images, information and even videos to help sell their vacation package. These are just a few examples of what can be done with GoAnimate. I will add student samples in the next couple of weeks. I would love to see what you and your students have created to showcase the great things our students are doing. 

Accessing BrainPOP is best done through the waffle or 9 dots in the upper right corner when in a Google application such as your Drive or Gmail.
BrainPOP is a tremendous resource that we have in GBAPS. There are lots of content resources available for many content areas that go beyond videos for students to learn about a topic. There are tools where students can map their thinking or understanding of a topic. Recently BrainPOP added Make a Movie feature where students can access BrainPOP content to make their own video products.
Another resource that I think has tremendous potential is the Gameup section of BrainPOP This section allows you to access a multitude of games from numerous game creators like iCivics, Mission US, and many others to provide engaging experiences for your students. In the video below I share how to access the Gameup page and search for games in your content area. As a high school teacher I used some of the iCivics games to help students engage in my social studies content. It provided them with the experience of making decisions and seeing immediate consequences to those decisions. It provided a lot of great conversation that connected to what we were studying and provided a better understanding of the difficult decisions leaders have to make. Playing the game wasn't the significant part of the learning experience, it was the discussions that the game experience lead to.
With all resources, please review how they fit into your content area and meet the standards for your curriculum. Some of the games may ask for logins, please avoid having students login with their google account, email, or names. If they are able to play as a guest, or with an anonymized name they should be fine. If you have questions about this, please contact me or another tech integrator or your LMS. To Learn more about BrainPOP check out the BrainPOP tutorial guide. |
AuthorWrite something about yourself. No need to be fancy, just an overview. Archives
September 2018
Categories |

 RSS Feed
